
Jan’s still going well. She went to her GP who examined and dressed the operation wound and pronounced it good. He told her she should be walking without the crutches now.
She’s managing fine crutchless around the house, but is using one crutch for longer walks. It’s still a bit painful, but as I told her cheerfully: “There’s no gain without pain!” You can guess how well that went down. So the tap, tap, tap has been replaced by tap . . . tap . . . tap!
I was doing some research into Jan’s total hip replacement and found an excellent guide to doing the operation. Jan’s prosthesis is a DePuy Triloc femur uncemented. There’s a Pinnacle 52mm solid cup with a poly hooded liner and metal head.
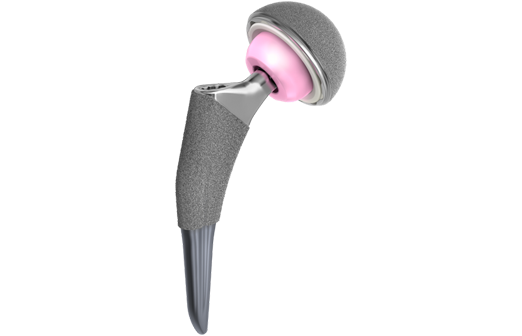
The maker of the hip is DePuy – and they publish a very handy Surgical Technique .pdf guide to using their gear. It’s an easy-to-read step-by-step booklet. There are even some interesting videos to watch (although I haven’t yet summoned up the courage for those). Here’s an example from the guide.
“For the posterolateral approach, place the patient in the lateral decubitus position. Ensure that . . . the patient is secured to the table to improve accuracy. Center the skin incision over the greater trochanter, carrying it distally over the femoral shaft for about 15cm and proximally in a gently curving posterior arc of about 30 degrees for about the same distance. (Figure 9). Incise the iliotibial tract distally . . develop the incision proximally by blunt dissection of the gluteus maximus along the direction of its fibres.”
Highly-paid doctors, like lawyers, like to use a lot of complicated jargon so ordinary people can’t see how easy their jobs are.
As any sub-editor would know, this jargon could be easily be replaced by two simple sentences. “Lay the patient on her side and tie her to the table so she can’t wriggle around. Make a big cut starting at the top of the leg and going back a bit into the bum chee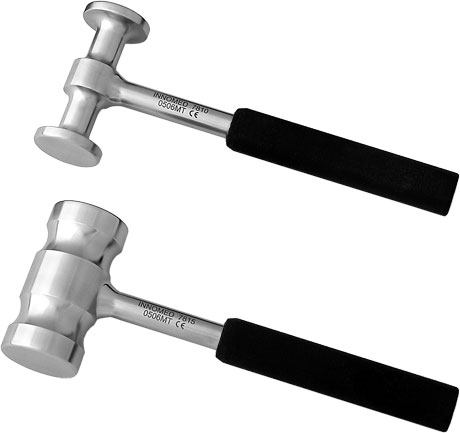 k.”
k.”
When it comes to inserting the metal bits, I like the way the guide advises “using moderate mallet blows, advance the stem into position.” Hmmm what’s the definition of moderate?
Anyway, I reckon I could do one of these after studying the videos and getting the special tools (a bigger mallet). I suppose the patient would need some sort of anaesthesia. Panadeine Forte? I guess Reta McLeod knows a bit more about this.


Crutchless out of the house might frighten the neighbours!!
Glad to hear Jan’s progressing well though.
The operating theatre is like a workshop at times….albeit a bloody one!!
Sedated patients often stir to the saw taking off the femoral head but they drift off back to sleep until the hammering starts ?
It’s 7 in the evening and I’m watching a hamstring being repaired….ruptured water skiing. All I want to do is go home for a chilled glass of wine!! Xx
Carer Jon is definately not doing my hip replacement. Thanks for all the technical information. I hope your thumb is better. Gin
I found this forum(below) very useful when I had my hip done…..lots of info and Q&A. It’s based in the UK and monitored by senior orthopedic nurses.
https://bonesmart.org/forum/
Glad to hear all is going well. (Ginny sent me your blog site address.)
Jan,
Have you had any pain from the little surface nerves cut during the op all trying to rejoin? I found a damp ice cold teatowel was the only thing that helped.